A ceiling fan is a staple found in every household that works as a coolant during every season; be it the scorching summers when the air conditioner partners with the ceiling fan for cooling, or the harsh winters when air circulated by the fan is enough to keep oneself cool under multiple layers of clothing. Ceiling fans are the cheapest form of air conditioning, which is great for your wallet. If you don’t have one and you’re wondering “how to install a ceiling fan,” we’ll teach you!
The job of installing a ceiling fan may sound tedious, but it is much simpler than it seems. In this article, we break down the process of setting up a ceiling fan so that you can do it all by yourself!
Table of Contents
Things You Should Know Before Installing a Ceiling Fan
- Ensure the circuit breaker has been turned off prior to starting the installation process.
- If an instruction manual is provided with the construction kit, read it carefully and follow the instructions.
- Check whether a UL-listed outlet box is labeled as “Acceptable For Fan Support” before proceeding.
- Assure compliance with local codes, national electric codes, and ordinances.
- Ensure that the installation site is clear of any obstacles.
Where to Install the Ceiling Fan
Installing a ceiling fan in the right spot is a crucial decision. A proper installation guarantees safety and optimal performance efficiency. These two locations work great: where wiring is present from an old fixture, and in a new spot where the new fixture is placed with the latest wiring.
Perform the following steps to ensure that the spot you’ve chosen for your ceiling fan is the right one:
- Keep the minimum distance between the floor and the ceiling onto which the fan is installed at least 9 feet.
- The ceiling blades should be raised 7 feet off of the floor. This is to create floor clearance and avoid any mishaps down the road.
- The clearance between the ceiling and the fan’s blades should be at a gap of 8-10 inches.
- Horizontal clearance is also mandatory. The location should keep the blades at least 20 inches away from cabinets, posts, and doors.
Tools Required When Installing a Ceiling Fan
- Crescent wrench
- Cordless drill
- Voltage tester
- Wire cutters
- Pliers
- Screwdrivers
- Tape
- Ladder
- Mask
- Safety glasses
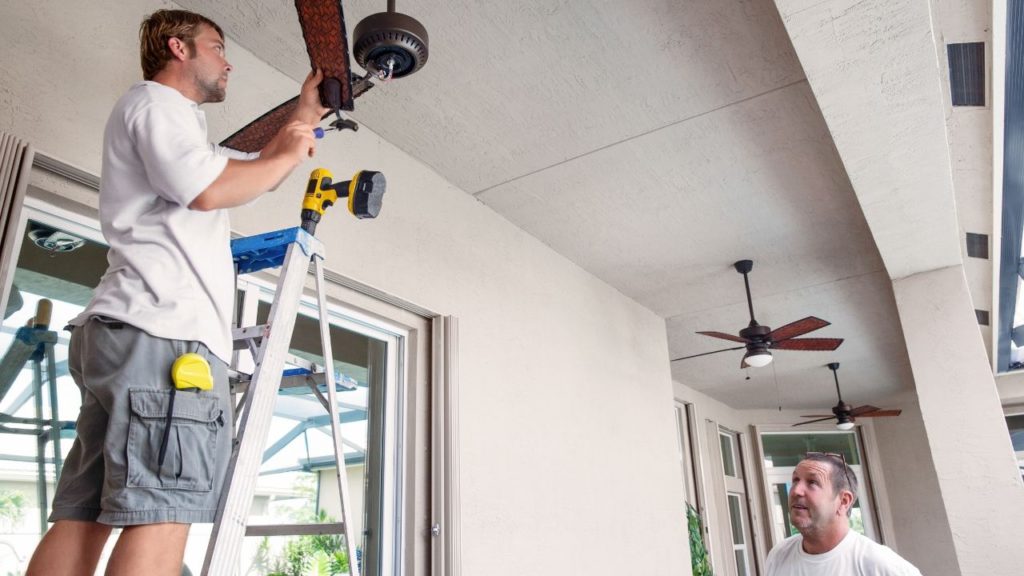
1. Remove the Old Fixture
- Use a screwdriver to withdraw the old nuts or screws that helped hold the old fixture.
- After removal of the old fixture, lower it and detach the wires from the plastic connectors.
- Remove the fixture slowly so as not to shatter anything and empty any ceiling debris.
2. Fixing Support Brace and U-Bolt
- To inject the support brace into the ceiling opening, rest it between two joints and lock it in there by twisting it until it is locked.
- Put the U-bolt over the fixed support brace with screws.
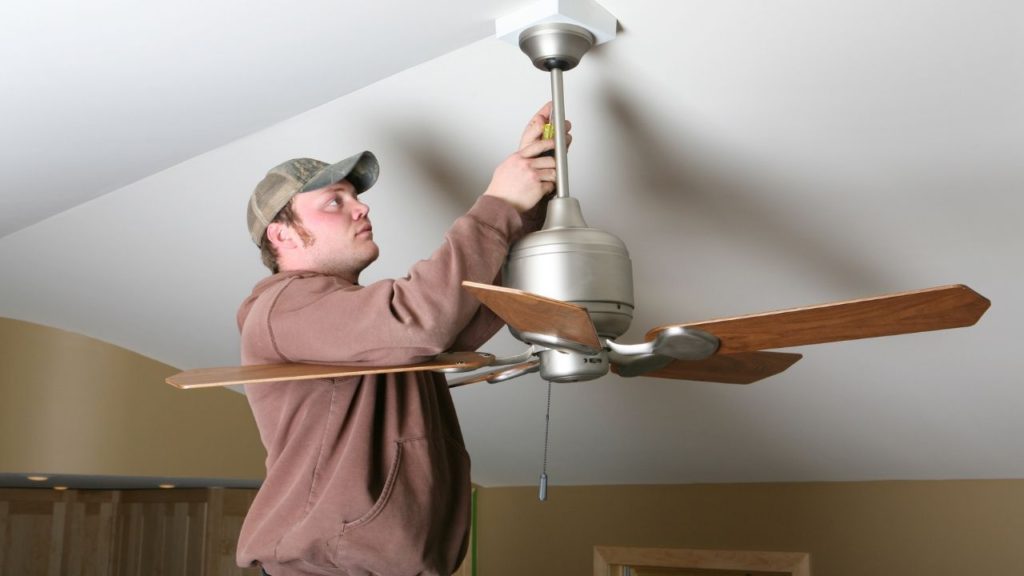
3. Install the New Fixture
- Ensure there is a cable clamp that connects the new fixture, and the ceiling passes through the knockout hole.
- The cable wrapped around the screw inside the box should extend to at least 6 inches and be left to hang free for now.
- Adjust and press the new outlet box against the base of the joist or the U-bolt brace and pin it together with screws using a drill.
4. Place the Ceiling Medallion
- Apply a thin coat of urethane-based adhesive on the ceiling medallion and pass the hanging cables through it.
- Fasten the medallion against the joist using screws and bolts and cover it with a canopy.
- Let the cables pass through the void pop and place it onto the motor and tighten it.
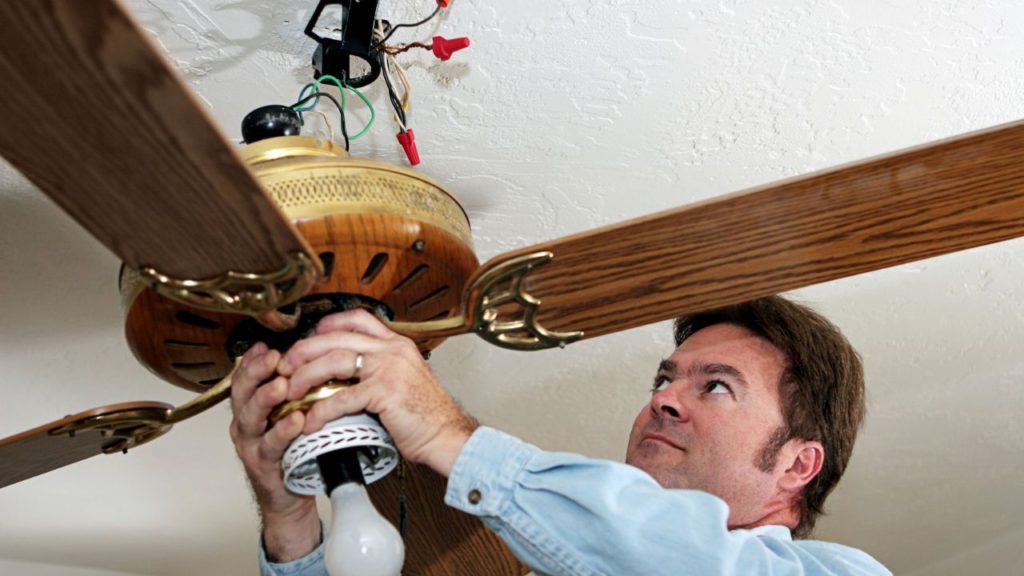
5. Assemble the Fan Components
- For this first step, you should connect the fan’s blades to the iron bracket, and then fasten it to the motor with screws.
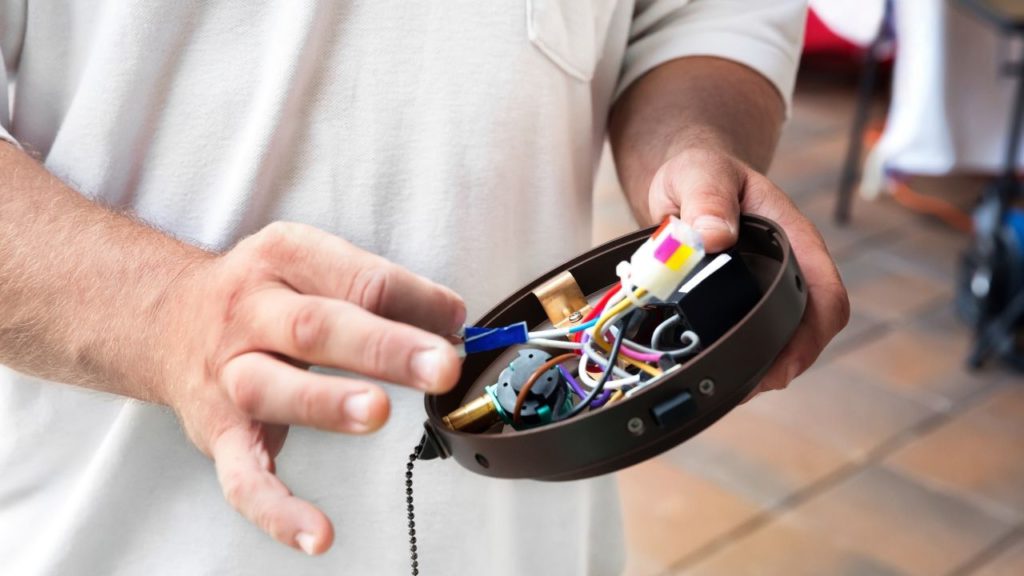
- Then, put the wires coming from the motor through the center of the canopy. Set the canopy on top of the motor with the base attached to the ceiling plate.
- Green wires get wrapped around the copper wire, whereas the white wires are joined together as well as the black ones.
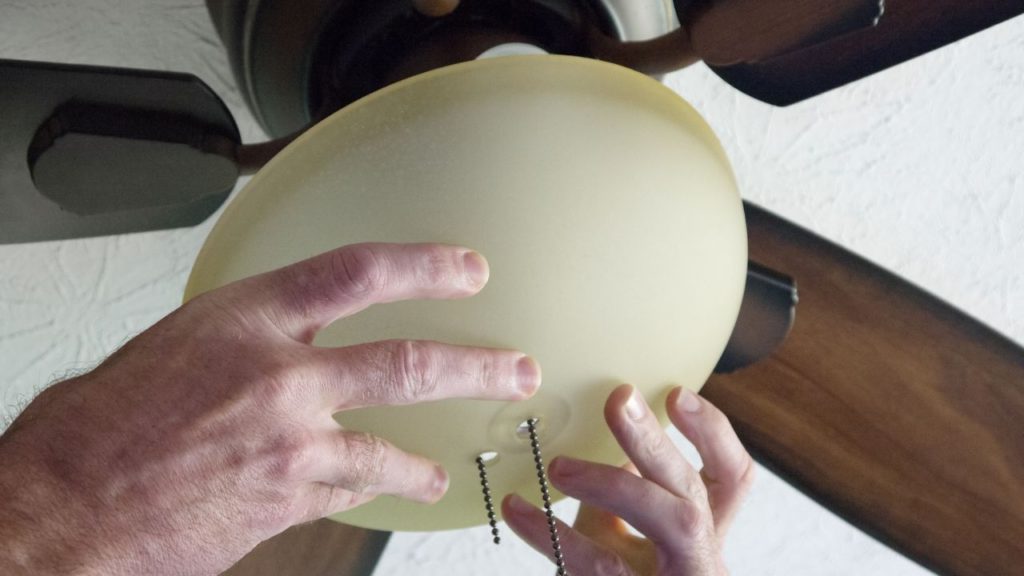
- The next step is to connect the lightbulbs.
- Twist the plastic holder for the controller to the wall beside the wall switch.
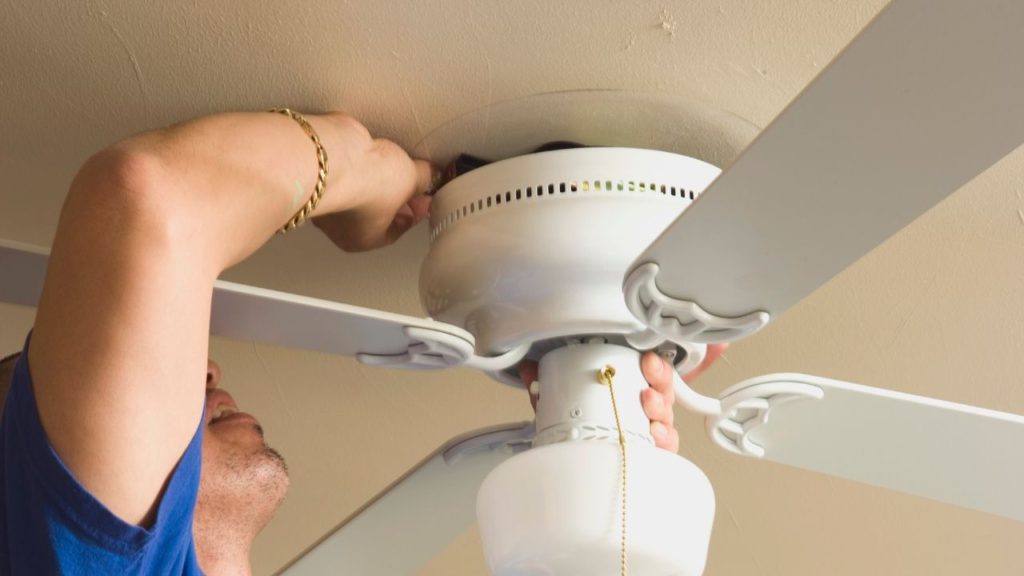
- The last step is to prop the fan up and attach it to the medallion with the canopy screws.
6. Test the Fan
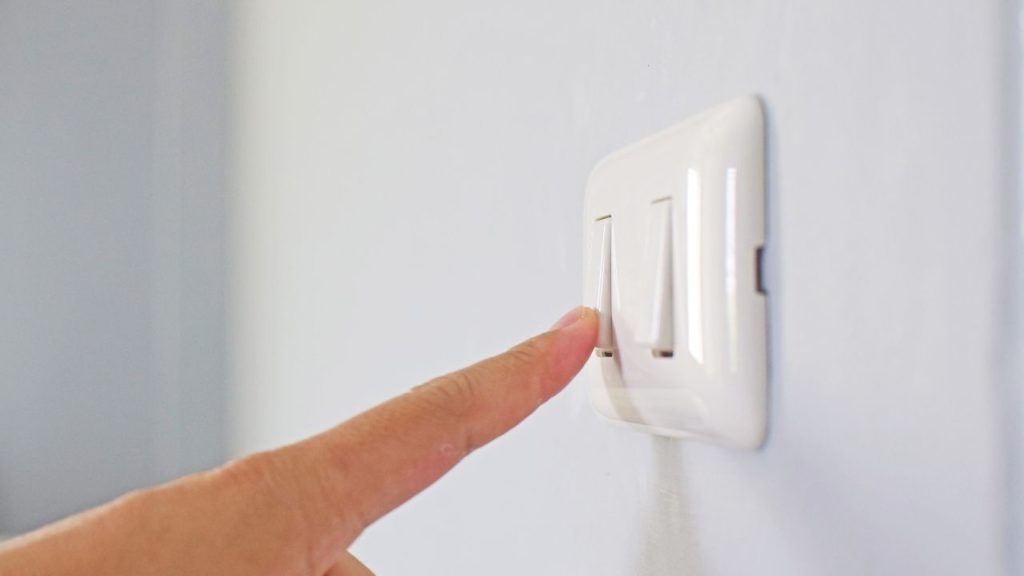
The last step in our how to install a ceiling fan guide is, of course, testing it! Using the switch, turn the fan on and off and try to adjust the different speeds on a speed scale of 0 to 5.
5 Ceiling Fan Issues and How to Fix Them
Our guide about how to install a ceiling fan wouldn’t be complete if we left out some troubleshooting tips. There might be a few problems that you may encounter after installing a ceiling fan. Some of them are listed below with the remedies to solve them.
1. Speed Controls Do Not Work
A short-circuited or blown capacitor cannot power the motor with the required amount of electricity it needs for the fan to change speeds. If the fan rotates at one speed, you should call your local electrician to remedy this problem.
2. The Fan Does Not Rotate
There can be multiple reasons for why this might be happening.
How to fix:
-
- The circuit might be off or fused. In both cases, you will have to reset it.
- Double-check if the wiring is correct.
- Ensure all things, including the canopy, the fan blades, and other fan parts, are fastened against each other and secured with nuts and bolts.
- Check if there is a battery failure. If yes, then you will have to install a new one.
- Ensure the reverse switch is not in a neutral position
3. The Fan Is Shaking
How to fix:
-
- If a fan is used for a long time, then clear the accumulated debris.
- Tighten any loose screws or any parts that are not assembled correctly.
4. Ceiling Fan Is Loud
Fans making noises can be bothersome. To mitigate this problem, you must identify the cause. These might be some of the reasons.
How to fix:
- If the fan makes noises in the first 24 hours of use, then test it for a longer time, allowing it to adjust.
- If you use light along with the fan, check the screws connecting the components together.
- Applying a ceiling fan lubricant to moving parts can reduce the squeaking noise.
- Check if there are wires or other components hitting the blades.
5. Light Fixtures Do Not Work
How to fix:
- Check if the bulb installed in the fan is dead or fused.
- Make sure that the ceiling fan is connected to the power supply.
- Do not overtighten the light bulb, or it might not light up at all.
- Check if the bulb socket is dirty. If you notice brownish burn marks, replace the socket.
- If the bulb is working in another socket, the problem might be the wiring.
So, there you have it! If you are looking into fixing a fan at home or even in your personal workspace, follow these steps for the best result!